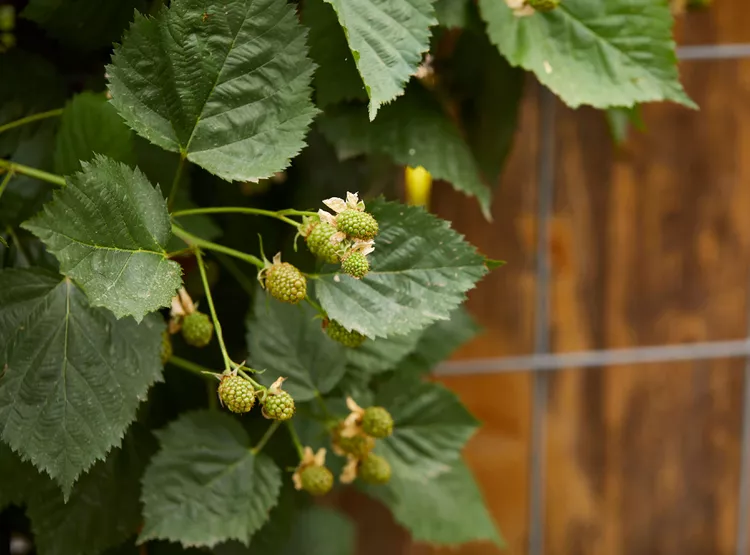
Raspberry canes produce big yields of succulent berries when planted in full sun and rich, well-draining soil. To make your brambles grow even better and simplify harvesting, a raspberry trellis is the way to go. Not only does trellising keep raspberry plants tidier and easier to maintain, but trellises can also reduce pests and diseases and save garden space.
Regardless of the size of your garden or the types of raspberries you grow, these 9 tips can help you install and use a raspberry trellis system for easier raspberry care and bigger harvests.
Do raspberries need a trellis?
You can grow raspberries successfully without a trellis, but the plants will get messy fast. Raspberries that aren’t trellised and pruned regularly quickly become overgrown and form large patches of brambles that block off garden walkways and make harvesting tricky. Trellising raspberries has a lot of benefits, but some of the main reasons you may want to try this growing method include:
- Space savings. Training raspberries to grow vertically keeps raspberry canes from trailing across garden walkways or working their way into surrounding garden beds.
- Easier maintenance. Raspberry canes trained on trellises are much easier to access, which makes pruning a breeze.
- Simplified harvesting. Because raspberries are held aloft by trellises, you won’t need to touch as many prickly brambles when harvesting.
- Fewer pests and diseases. Trellising increases airflow around the raspberry canes, which reduces mildew issues, makes it easier to spot pests, and produces higher-quality berries.
- Bigger yields. Trellises open up the center of plants, so interior canes get more light and produce more berries.
Tips for Using a Raspberry Trellis
While a raspberry trellis can be added to existing plants, it’s much easier to install trellises around new plantings of raspberry canes. These tips will help you place, build, and use your raspberry trellis successfully for new or existing plants.
1. Consider Sunlight Before Installation
Keep in mind that tall trellises can block sunlight from reaching lower-growing plants, so install trellised raspberries toward the rear or north side of your garden. Depending on your gardening style, you can also use trellised raspberries as a backdrop for shorter vegetables or flowers or install several trellises around the perimeter of your space to create an edible and living hedgerow.
2. Prepare the Soil Ahead of Time
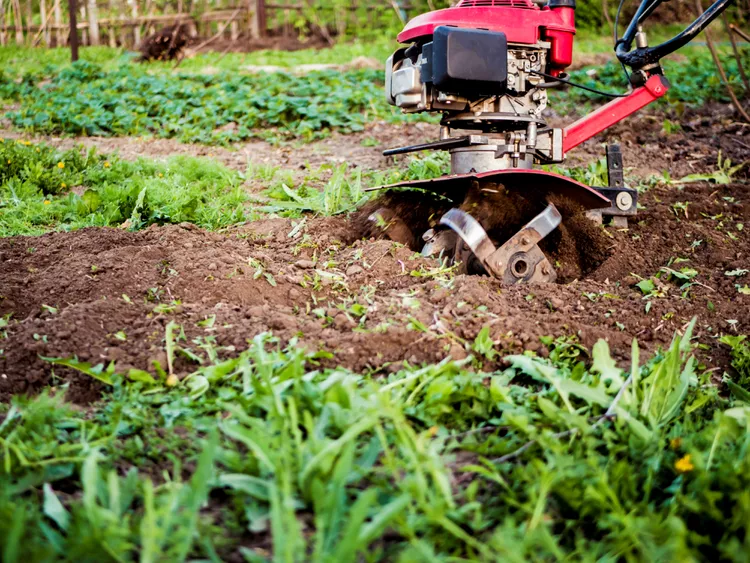
Before planting new raspberry canes, prepare the planting area by cutting down existing grass and weeds low to the ground and hand-pulling as many weeds as you can. Compact or low-fertility soil can be improved by tilling it to a depth of 8 to 12 inches and then working compost or aged manure into the top few inches. If you’re struggling with lots of weeds, smother them by layering pieces of cardboard over the area and leaving the cardboard in place for about a month before planting.
You can also prepare the soil around existing raspberry canes, but you need to work around the plant roots carefully, and tilling is not advised. When you’re done, you should have a prepared planting spot about 2 feet wide and approximately 2 to 3 feet longer than the row of raspberries you intend to grow.
3. Space Raspberry Plants Properly
The correct spacing for raspberry plants boosts airflow and prevents diseases like powdery mildew. New raspberry plants should be spaced about 2 feet apart, with multiple rows of raspberries positioned at least 4 feet apart. Soak bare-root raspberries before planting them, and add a 1- to 3-inch layer of mulch over the planting area to keep weeds from intruding.
4. Choose the Right Trellising System
Gardeners have a few options for trellising raspberries, including T-shaped and V-shaped trellises. However, the easiest and most affordable raspberry trellis is a simple DIY system made of support posts and 12.5 gauge high-tensile wire or a similar product. Most commonly, 6- to 8-foot-tall metal T-posts are used as supports, but support posts can also be made of water-resistant wood like cedar.
5. Install Sturdy Support Posts
If you’re working with wooden support posts, pre-dig holes for the supports using an auger or post hole digger, or attach wooden posts to the exterior of raised garden beds using long, exterior-grade screws. You don’t need to pre-dig holes for metal T-posts, but T-post installation is easier with a post driver.
When you’re ready to install, sink the support posts into the ground on either end of the row of raspberries, spacing the poles 15 to 20 feet from each other and about 1 to 2 feet away from your raspberry canes. For sturdiness, ensure the poles are buried 1 to 2 feet deep in the soil with about 3 to 4 feet of the pole above the soil line.
6. Add Earth Anchors
Earth anchors aren’t required, but they will keep metal T-posts from turning inward under the tension of the trellising wires. To install earth anchors, screw one anchor into the soil about 2 to 3 feet away from the outer side of the T-post, sinking it deep enough so that the top loop is just above the soil line. Repeat this process with a second earth anchor on the far side of the second T-post.
7. Secure Multiple Lines of Support Wire or Twine
While you can use either twine or wire for trellising raspberries, wire is a better choice because it lasts longer and won’t need to be replaced as often. Just be sure to use eye protection and sturdy leather gloves when working with wire because it is sharp.
To install, cut three or four lengths of wire that are each 3 feet longer than the distance between the two support poles you installed. Use eye hooks to attach the support wires to the wooden posts or thread the wires into the holes that run along the length of the T-posts. Install a length of wire at 2, 3, and 4 feet above the ground, and secure the wires with gripples.
To keep T-posts from turning inward, loop a shorter length of wire between the top of one T-post and the closest earth anchor and secure the wire loops with a gripple. Repeat this process on the other T-post and earth anchor.
8. Loosely Attach Canes to Support Wires
Once you’ve planted the raspberry canes and installed the support trellis, it’s time to wait for your raspberry plants to grow. When the canes are tall enough to reach the lowest trellising wire, loosely attach the canes to the wire using plant ties, plant clips, or a bit of twine. Secure multiple canes at least 4 inches apart and prune any extra canes growing too closely together. Repeat this process as the canes grow by attaching the canes to the higher trellising wires.
9. Prune Dead Canes Annually
Summer-bearing raspberries only flower and fruit on second-year canes, and then those canes stop producing. Prune the second-year, woody canes off summer-bearing raspberries once a year after the plants fruit. Then, secure the remaining green canes to the trellising system to keep your plants tidy and productive.
Fall-bearing raspberries can be pruned to the ground in late winter if you only want to harvest berries in the fall. However, you can leave some of the stronger canes on fall-bearing plants and harvest berries in fall and summer.
10. Remove Suckers
As raspberry plants grow, you may notice smaller canes sprouting in the soil some distance away from your raspberry trellis. These canes are known as suckers, and like tomato suckers you would prune off, they draw energy away from raspberry plants and make larger canes less productive. To avoid this, remove any suckers you find with pruners or carefully dig them up. Plant them closer to your trellising system, and tend them like new raspberry plants.