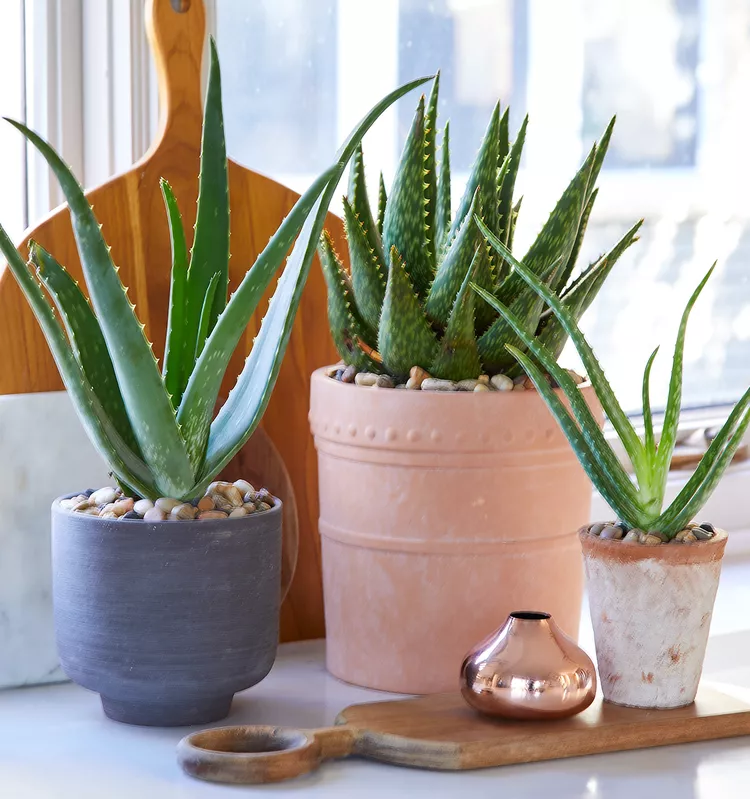
Propagating an aloe plant is a rewarding (and free!) way to get even more plants to love or share with friends. The process also provides a way to salvage stems that may have accidentally broken off, or spruce up overgrown or leggy succulents. Regardless of what inspires you to propagate an aloe vera plant, this guide will walk you through three techniques you can use to multiply this popular succulent.
Propagating Aloe Plants from Pups
By far, the easiest and quickest way to propagate succulents—and aloes by default—is by dividing aloe pups or offshoots from the parent plant. As aloes grow, they produce baby aloes or pups around their roots. Over time, these pups can grow as large as the parent plant and cause overcrowding. If you separate the pups when they’re young, you can create new aloes for your home or to share with friends.
Step 1: Choose large enough pups
Aloes produce a lot of pups, but pups shouldn’t be separated from the parent plant until they’re at least 3–4 inches tall and have several sets of leaves.
Step 2: Remove the whole plant from the pot
Carefully remove the parent aloe from its growing container. If the plant is hard to dislodge, run a dull knife around the interior wall of the pot to gently loosen the plant roots.
Step 3: Separate the pups
After the whole aloe plant is out of its pot, carefully separate out the pups. If the pups have roots, gently tease the pup and its roots free with your fingers. If the pups don’t have roots, use a sharp, clean knife to separate the pup from the parent plant, leaving as much stem as possible attached to the pup. Repot the parent plant in its original pot. Pups with roots can be planted right away.
Pups without roots need extra TLC to help them form a callus. This is an important step that prevents the pups from rotting later on. Place the pups on a small plate and move them to a cool, dark place for 24 to 48 hours to encourage them to form a callus. When the aloe stem is callused, dip the stem end in the rooting hormone before planting.
Step 4: Pot up those pups
To plant rootless or rooted aloe pups, select a small pot with a drainage hole, such as a 4-inch terra-cotta pot. Fill up the pot with a well-draining potting mix intended for succulents, poke a hole with your finger into the center of the potting mix, and plant the aloe pup so the base of the plant is at the soil line.
Firm the soil around the pup and add a layer of pebbles on top of the soil to keep top-heavy pups from toppling over. Move the pot to a bright, sunny spot and wait to water your new aloes for seven to 10 days to prevent rot. Once the aloe pups have settled in, care for your new plants as you care for a mature aloe.
Propagating Aloe Plants from Stem Cuttings
Dividing aloe pups is the most reliable way to get more plants, but you can also propagate aloes through stem or leaf cuttings. Aloe stem cuttings often rot before they root, but removing part of the aloe stem along with the leaf-cutting improves the results. Compared to pup propagation, stem cuttings take longer to root, but they’re a good solution if you have a leggy plant or an overwatered aloe that needs saving.
While some succulents can be rooted in water, this method of propagation is not recommended for aloes.
Step 1: Cut off the parent plant
Using a sharp, clean knife, cut off an aloe plant at the base, just above the soil line. This may seem drastic, but it’s the best way to harvest leaves with attached stems.
After cutting off the top of a healthy aloe plant, place the pot with the aloe roots back in a sunny spot and care for it as usual. After a few weeks, aloe pups should sprout from the cut stem of the old aloe.
Step 2: Remove lower leaves
While holding the top section of the aloe plant in one hand, carefully peel away the bottom two or three leaves from the plant’s stem. These lower leaves typically don’t have enough attached stem to root and should be composted.
Step 3: Harvest the stem and leaf cuttings
Select a healthy aloe leaf and score the stem with two vertical cuts just below the leaf with a sharp, clean knife. This ensures that part of the stem section remains attached to the leaf after harvesting. Then, slowly pull the leaf and stem section away from the rest of the plant. Repeat this process until you’ve harvested as many leaves (with attached stems) as you’d like to propagate.
After you harvest the lower aloe leaves, replant the upper section of the aloe to create yet another aloe plant. Allow the cut stem to callus over before potting the plant top in a well-draining potting mix.
Step 4: Wait for pups to grow
Place the aloe leaves and stem sections onto a plate. Put the plate in a warm spot that receives bright, indirect light, and wait for the pups to grow. Pups should start to sprout from the stem section of the aloe leaf in one to two weeks. As they grow, pups receive the water they need from the aloe leaf, and they don’t need any additional water.
Step 5: Plant new pups in soil
After one or two months, you should have several new aloe pups attached to the old aloe leaf. Now, it’s time to plant them.
Fill a small pot with a succulent potting mix and place the leaf with the attached pups right on top of the soil. Move the pot into bright, indirect light and water sparingly. After a few more weeks, the pups should root, and the old leaf will shrivel up. When this occurs, repot the aloe pups into larger pots (if needed) and care for the new aloes as you care for a mature aloe plant.
Growing Aloe Plants from Seeds
Growing succulents from seeds takes longer than starting from cuttings or pups, but it is doable. Aloe plants don’t flower and produce seeds until they are mature, which usually takes at least four years. When your aloe plants start to flower, they can produce seed pods.
Step 1: Harvest the seeds
Wait until the pods are dry before removing and opening them to harvest the seeds. To avoid harvesting the seeds too early, place a paper bag or tray under the pods to catch the seeds when the plant releases them.
Step 2: Plant the seeds
To plant aloe seeds, fill pots or seed-starting trays with a premoistened and well-draining succulent mix and lightly press the aloe seeds into the top of the soil.
Step 3: Provide light and water
Move the pots or trays into a bright window or under a grow light and keep the soil consistently moist but not soggy. Keep in mind that aloe seeds need at least eight hours of bright light daily to germinate. Baby aloe plants should sprout in about two to four weeks. When this occurs, reduce watering and only water every 10 to 14 days.
Step 4: Repot aloe seedlings
Once the new aloes are a few inches tall, repot them into individual pots. Give them the same care as a mature aloe plant.